Apologies!
Hi Everyone!
Deepest apologies for why I've been so quiet on this blog recently! Things have been a bit hectic as I've been writing my dissertation and getting ready to move house which have unfortunatly taken me away from this project.
Please hold tight, I will be back in a few weeks time with plenty of costume updates!
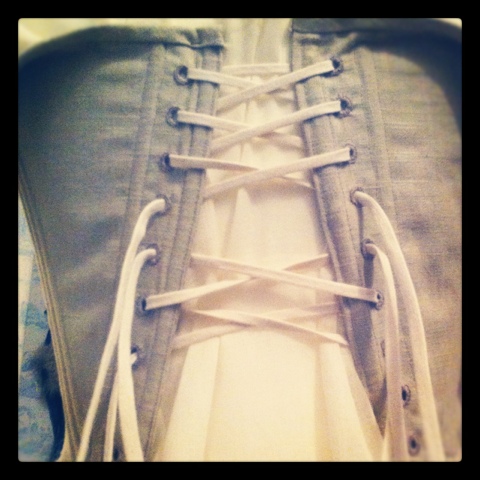
Finishing the Corset....
After boning the corset (see my older posts for the previous stages in making the corset) the next stage was to attach the eyelets. I had planned on using metal eyelets, however the more I thought about it, the more I realised that if I want the re-creation of this garment to be as authentic as possible then I should really hand sew the eyelets. I have never hand sewn eyelets before, so had a quick look on the internet for how to do it, had a few practice attempts, and then got to work on the corset!

I came across a great tip when I looking for how to sew eyelets, about how to make a hole it the fabric. Instead of cutting a hole straight into the fabric, make a small puncture in the fabric, using the end of some small sharp sissors and strech out the hole out. In the picture above I am using the handle of a paint brush to stretch the holes to the required amount. This makes the holes much more stronger, as you aren't actually cutting into any of the fabric, meaning the eyelets are less likely to snag under the strain of the laces.
One down side to hand sweing the eyelets is that it obviously took alot longer than I had planned when I thought I was putting metal ones it in! However after a couple of extra days work, I am more than happy with the result, they look so much nicer than the modern metal alternative!

After I was done with the eyelets, it was time to attach the tassets and bias bind the edges....


Followed by lacing up onto the mannequin and, hurray, the corset was complete!


I am really pleased with how this corset has turned out, in particular how authentic it looks!
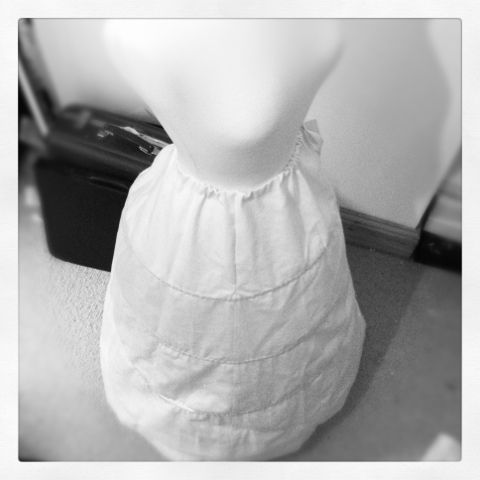
Shift


Hello.
I made this shift a while ago and have been meaning to do a post about it ever since. Sorry it has taken me so long!
The shift is the item of clothing that would have been worn underneath all the other layers of the garment. Worn closest to the skin, it protected the rest of the clothing from dirt and sweat.
To make mine I turned to Jean Hunnisett's Period costume for stage and screen:1500-1800: Patterns for Women's Dress, again. Although most shifts would have been made out of linen, I chose to make this one out of muslin. This is because I was finding it really hard to locate the right colour linen and then I came across this muslin in a lovely off white/cream colour which is just what I was looking for. I will also be making the ruff out of this same muslin when it comes to it so thought it would be nice for them to be made out of the same fabric, as the ruff will sit partly on the shift when compleate.
I was in a dilemma for a while about whether the shift Vere would have been wearing would have had a low neckline, the same neckline as that on the bodice, and her chest exposed. However once I looked into it, it became more apparent that the majority of shifts of the time were high neck with a small collar. This also made more sense as I looked at the portrait in more detail. What appears to be the skin on her chest seems to be more pale and even, compared to that on her face, meaning that chances are this is in fact an exposed part of the shift, not bare skin.
As for the making of the shift, it didn't take long, and as you can see from the pictures there is nothing that exciting about it! However it was the first stage in getting dressed as a Jacobean lady, or man, and was an important part of their day to day attire.
Making the Corset
Hello everyone, corset update here that I've been meaning to do for a while!


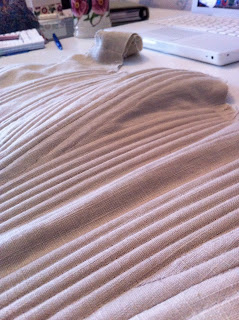
After sourcing some nice linen from Leon's Fabric shop in Chorlton, I was able to cut out the pieces fro the corset. Using the the toile pieces, which were adjusted during the fitting process, I cut double the amount of pieces out that I had done for the toile. This is because you need to make two corset shapes up, which are then attached together, forming a shell for the boning to be inserted inbetween.


Before I attached the two pieces together i needed to make and attach a pocket to the back layer of the corset for the busk. This is because, unlike the boning pieces, which are constantly attached to the corset, the busk would have been able to be removed when desired. Once this was completed, the two layers were pinned and together, very carefully, making sure all the seams were parallel to each other, so that I could begin the boning process.


Originally, corsets of this period would have been boned using whalebone, or baleen, as its also known. However, due to modern legislation surroundion the farming of whales the use of this material is corsetry is now unheard of. Most modern corsert use rigilene or steel, for more high quality corsets. I was going to use steel for this corset until I came across flat oval reed on Vena Cava's website, a well know corsetry suppliers. In their description they describe it as,
"Closely approximates the flexibility and malleability of baleen, the keratinous "feeders" of whales that came to be called "whalebone". Terrific for boning 17th, 18th and early 19th century stays."
As I'm trying to keep this corset as authentic as possible I decided to give it ago. Ever since it arrived it the post I have been over the moon with it, it is so much nicer to work with than steel and it looks so much more authentic when its in the corset.
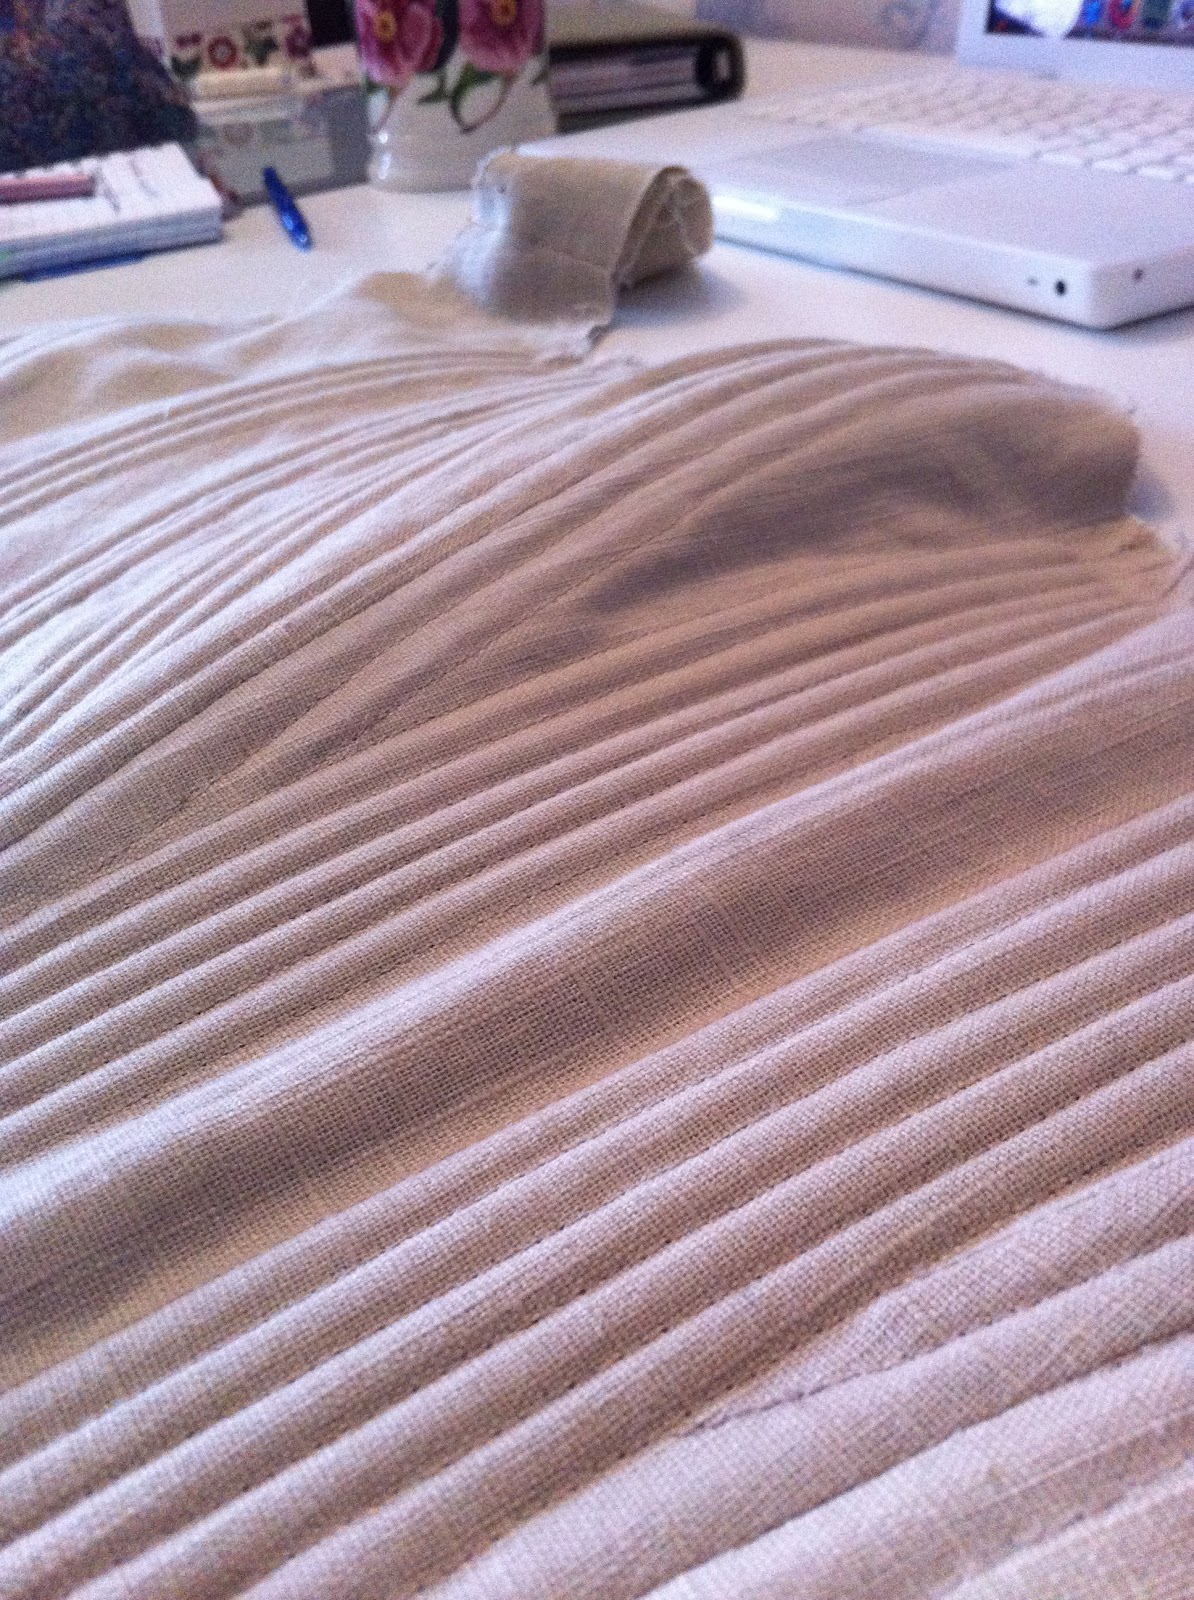
Once the boning had arrived I was able to mark the boning channels up following the original pattern (see the second picture above) and stitch them in place. Next was to measure the length of each channel, cut a piece of boning the the required length, file the ends, cover the ends with a small amount of masking tape and the insert them into the boning channels, untill I ended up with a fully boned corset...

 Just a few more steps to go now and the corset will be complete!
"Closely approximates the flexibility and malleability of baleen, the keratinous "feeders" of whales that came to be called "whalebone". Terrific for boning 17th, 18th and early 19th century stays."
As I'm trying to keep this corset as authentic as possible I decided to give it ago. Ever since it arrived it the post I have been over the moon with it, it is so much nicer to work with than steel and it looks so much more authentic when its in the corset.
Once the boning had arrived I was able to mark the boning channels up following the original pattern (see the second picture above) and stitch them in place. Next was to measure the length of each channel, cut a piece of boning the the required length, file the ends, cover the ends with a small amount of masking tape and the insert them into the boning channels, untill I ended up with a fully boned corset...

Busk
Hi there! Sorry I've been away from the blog for a couple of weeks, I've been so busy with the costume I haven't found time to write about it!
As I said in the last post I have been wanting to incorporate a wooden busk into the center front of the corset I am currently making. Although I am by no means an expert on all the functions of these busks, I do know they help the corset to create a very flat front, which looks to be the shape shown on there portrait of Vere Egerton.
After lots and lots of searching on the internet, I was really struggling to find somewhere to buy a wooden busk from, as there aren't used in modern corsetry making anymore. Even when I did find some, they would be to long for the corset I am making. However, on the brink of giving up on the busk completely, I came up with the idea of trying to make one myself. I didn't think it would be too hard as all it is, is basically a rectangular shaped piece of wood, which tapers in towards the bottom.


With this idea in mind, we took a trip to B&Q to get supplies and then we got to work. I have to admit that I had a lot of help from my boyfriend whilst making this busk because my skills at wood cutting are zero! I drew out a template for the shape of the busk in paper, which was then traced onto the wood. We used MDF wood, although defiantly not accurate to the time period, it was the most suitable wood for us to work with. After lots of sawing and sanding, all done by Matthew, with me stood next to him wincing, we finally achieved this...

The next day, after some more sanding, I dabbed some wood stain varnish onto the busk using cotton wool pads,to give it a bit more of a period look.


And here is the final product! I'm really happy with how it has turned out and quite pleased in the end that I couldn't find one to buy online!

Corset Toile
Hello!
I've been busy making the corset toile recently. I didn't plan to make this first, however I love making corsets so found it hard to resist!
The pattern is a standard Elizabethan/Jacobean corset, taken from Jean Hunnisett's book, Period Costume for Stage and Screen; Patterns for Women's Dress, 1500-1800. All of Jean Hunnisett's period pattern books are a fantastic resource for making costumes.

Drafting up the pattern on to paper. I just use basic lining roll paper to draft patters. A fellow costume student gave me this tip, which is great as the paper is a nice weight and its much cheaper than proper dressmakers paper!

After drafting up the pattern and cutting it out, it was time to cut out the pieces for the toile. The toile is basically just a practice version of whatever you're making, so you can get a more accurate sizing of your garment, before cutting out the pieces for your 'proper' version. This toile is just made from some lining curtain fabric I had from a previous project.


After making up the toile I fitted it on the mannequin. The rule with corsets is that they have to fit really well, so this takes a lot of fitting, pinning, altering, fitting, pinning, altering, fitting, pinning, altering.....

Eventually it was finished! I know it looks quite messy and very un-finished, but don't worry, most of it is just notes and markers for when I cut the pieces out for the actual corset. My one slight worry with this corset is how it will sit on the mannequin. I have only previously made corset for humans, who have a lot more adaptable bodies than mannequins! We'll see how it goes.....
(Can I also just add this process was done whilst eating way too many Rhubarb & Custard Pips!)

Next Step....fabric buying....
Gallery of Costume
Taking a break from sewing I visited the Gallery of Costume in Platt Field park along Oxford Road, just south of Manchester city center. This is a fantastic museum for costume and fashion, and having been countless times regarding various projects I'm always so grateful its on my doorstep. And its free entry!


Having known the museums collection pretty well I tend to just head towards the pieces I want to see for research purposes. In today's case I wanted to see their corsets and obviously pieces they have from the 17th century. Although their corsets are from the 18th cenury (see above) they are still a nice example of period underwear. I was particularly interested in their busks as I will be incorporating one into the corset I'm making. These are the wood panels (see picture two) that would be inserted into the center front of the corset.


Upon entering the room containing the majority of the 17th Century collection, the first piece to catch my eye was a girls jacket/bodice dated from 1610-25 (above). New to the collection, this is a linen garment is heavily embroidered with coloured silks, gold metal thread and sequins. Obviously the embroidery style is simillar to Vere's bodice, but it was also nice to see the lace/sequin detail at the bottom of this jacket which also seams to be present on the armseye of Vere's bodice (see below)

This woman's coif from 1600-10 (below), also use very similar embroidery motifs as Vere's bodice. I will defiantly be revisiting these when I come to start the embroidery.

Another nice piece was a woman's bodice from 1630-40 (below). Here is a part of the description given next to it at the museum, Shown from the back, this bodice of white linen is embroidered over the whole ground in silver thread chain-stitch and metal spangles in a formal scrolling design.


Apologies for some of the poor quality photos!
The Painting.
Just got back from my first viewing of the portrait at the house. She's lovely!
I've always been amazed by how much detail there is on the portrait, and on the costume in particular, but having seen it today I was taken aback by how much work there is in it. It definitely won't be a problem trying to work out the embroidery pattern on the bodice, it looks as though Robert Peake has painted every stitch!


You can definitely see how the paining has improved from its restoration. The one thing that struck me is how much lighter the bodice is. From the original painting I had an image of gold coloured fabric, however going from what I have seen today it seems to be lighter than that, more of a dark cream.

It was also pointed out to me where the restoration team believe the painting was altered after its completion. They believe the shape of the bodice was changed, by making it shorter, to keep up with the fashions. Understandably, it would be frustrating to pay to have your portrait done, only to have what you are wearing quickly go out of favour! They can see the alterations from the way the there is less detail in top of the skirt, around her right arm/waist area. Why would Peake spend so much time putting detail into the whole painting but not this area? It is a much more feasible explanation that the painting was later altered by somebody else. I'm not sure if you will be able to tell from the pictures I have taken today, but it is much more clear when you see the painting for yourself.

I also received the mannequin the costume will be made for today so, after taking some measurements, I am ready to get started!

Subscribe to:
Posts (Atom)